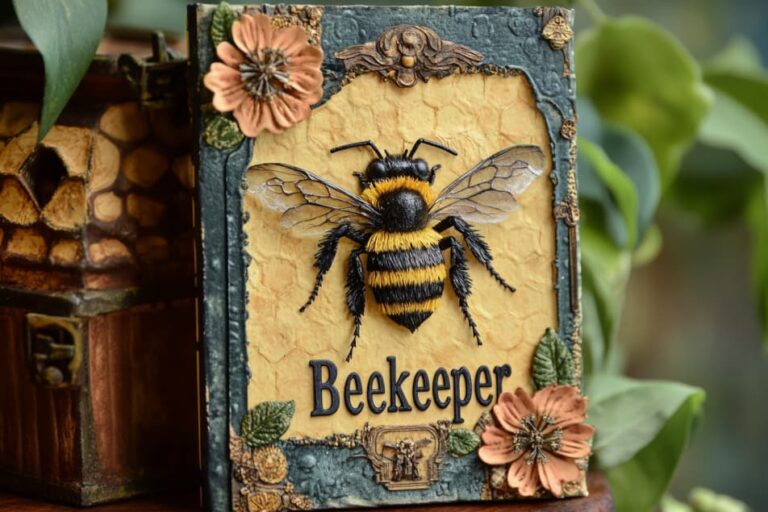
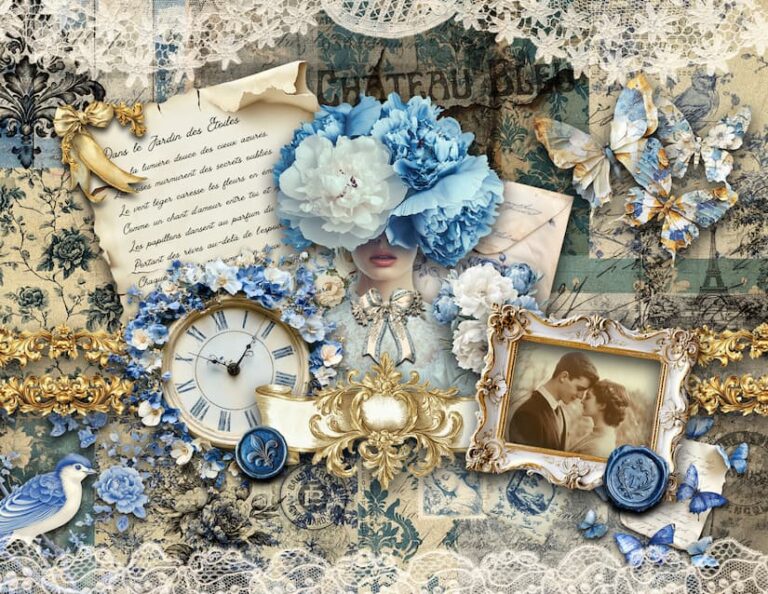
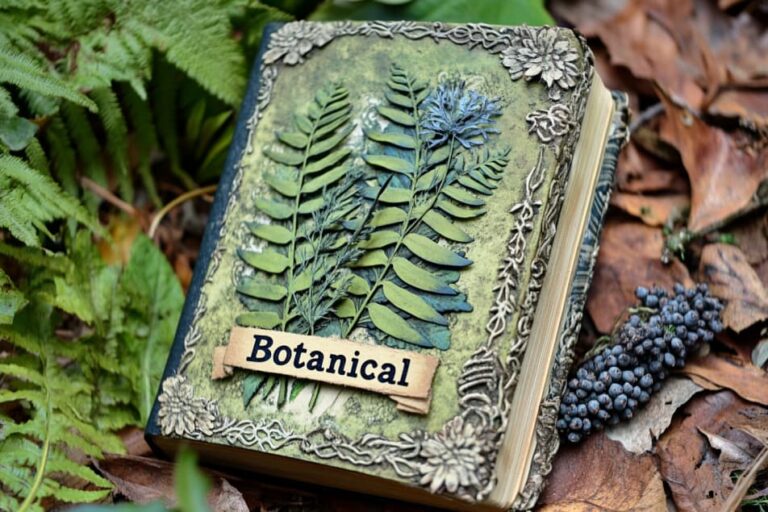
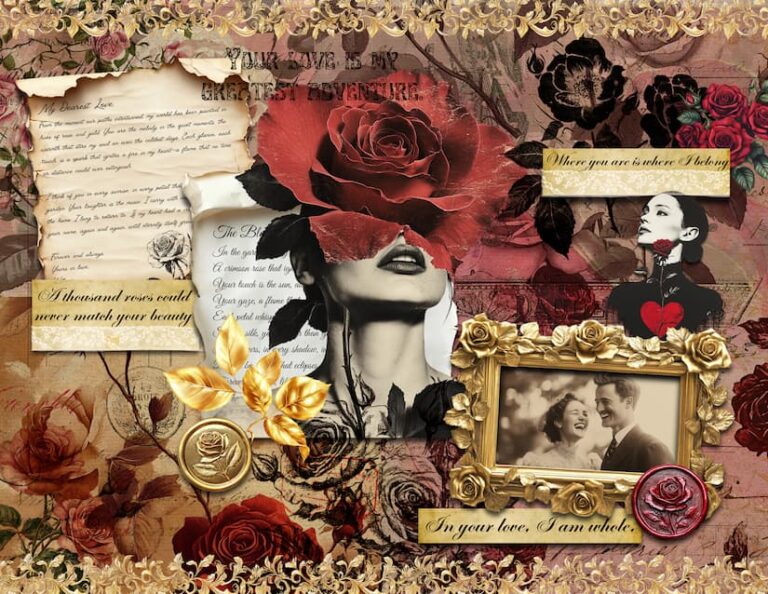
Junk Journal Pockets and Tucks Idea for Beginners: 3 Fast and Easy Pockets
3 Quick and Easy Junk Journal Pockets and Tucks Ideas 🗂️✂️
Struggling to add storage to your junk journal pages? 🤔
Want simple pocket designs that pack a punch?
You’re in the right place!
I’m breaking down a fantastic tutorial by RachandBella Crafts on YouTube.
She’s sharing three super easy pocket ideas that’ll level up your junk journaling game.
Let’s dive in!
What Makes These Pockets Special? 🌟
- Fast to create
- Beginner-friendly
- Uses materials you likely have on hand
Pocket #1: Triple Book Page Pocket 📚
How do you craft this multi-layered marvel?
- Grab a single book page
- Fold it in half, then in half again
- Bring the top corner down to the front
- Fold the next section down, leaving a gap
- Repeat for the last section
- Tuck the back fold in for a clean finish
Pro Tips:
- Ink edges before closing for a vintage look
- Glue down tabs to reduce bulk
- Stitch or glue to close
This pocket gives you three separate spaces for tags, ephemera, or tiny treasures.
Pretty neat, right? 😎
Decorating Ideas:
- Add lace trim to the edges
- Stick on a small envelope for extra storage
- Use patterned paper for a pop of color
Pocket #2: Diagonal Paper Pocket 📐
What’s the secret to this easy pocket?
- Take an A4 sheet of paper
- Place it diagonally on your work surface
- Bring one corner up to the opposite peak
- Fold the right edge over, then tuck the left edge in
Why You’ll Love It:
- No glue needed (but you can use some for extra security)
- Loads of space for tags and goodies
- Lightning-fast to make
Customization Options:
- Use double-sided patterned paper for extra flair
- Add a ribbon or twine closure
- Stamp or stencil designs on the front
Pocket #3: Circle Fold Pocket 🔄
How do you transform a circle into a pocket?
- Cut out a circle (use household items as templates)
- Find the center by pinching it in half
- Fold the bottom to the center, then the top down
- Cut small slits on both sides
- Fold the cut flaps to the front
Sizing Options:
- Large (12×12 paper): Perfect for happy mail or full journal pages
- Medium: Great for standard journal inserts
- Mini: Cute embellishments or tiny storage spots
Pro Tips:
- Use long-nosed scissors for smoother cuts
- Try pinking shears for decorative edges
- Ink all visible edges for a cohesive look
What Are Some Expert Tricks for These Pockets? 🧠
- Can’t find a circle template? Use jar lids, cups, or rolls of tape
- Don’t have a Cricut? No problem! Hand-cutting works great
- Mix and match patterns for visual interest
- Layer different pocket sizes for a unique look
How Can You Use These Pockets in Your Junk Journal? 🤔
- Fill them with tags, tickets, and ephemera
- Create interactive elements on your pages
- Design themed pockets for different journal sections
- Stack multiple pockets for extra storage
Let’s Break Down the Materials 🛠️
For All Pockets:
- Paper (book pages, scrapbook paper, or cardstock)
- Scissors
- Bone folder or ruler for crisp folds
Optional But Fun:
- Ink pad for distressing edges
- Glue or double-sided tape
- Sewing machine for stitched edges
- Decorative elements (lace, ribbon, stickers)
Step-by-Step Breakdown: Circle Fold Pocket
- Choose your circle size and cut it out
- Find the center by folding in half (don’t crease fully)
- Bring bottom edge to center, crease
- Fold top down to meet bottom fold
- Open up, turn slightly, and cut small slits at fold lines
- Ink edges if desired
- Fold bottom up, tuck side flaps in
- Glue bottom and side flaps
- Decorate as desired!
Why These Pockets Rock for Junk Journaling 🌈
- Add instant storage to any page
- Create visual interest and texture
- Customize to match your journal’s theme
- Perfect for hiding journaling or keepsakes
Troubleshooting Tips 🛠️
- Pocket not staying closed? Add a dab of strong glue
- Edges looking messy? Try a light sanding before inking
- Paper too thin? Double up or use a stronger base
Ideas for Filling Your New Pockets 💡
- Vintage ephemera (tickets, stamps, postcards)
- Handwritten notes or quotes
- Small photos or polaroids
- Pressed flowers or leaves
- Washi tape samples
- Tea bags for natural dyeing
How to Incorporate These Pockets in Your Layouts 📐
- Use as page focal points
- Create a “pocket page” with multiple designs
- Add to journal covers for quick access storage
- Layer with other embellishments for depth
Ready to Get Pocket-Happy? 🎨
These pocket ideas are game-changers for junk journaling newbies and pros alike.
They’re quick, fun, and endlessly customizable.
Remember, the beauty of junk journaling is in the experimentation.
Don’t be afraid to put your own spin on these designs!
Mix materials, play with sizes, and see what works for your style.
Your Junk Journal Pocket Checklist:
✅ Gather materials
✅ Choose your favorite pocket style
✅ Cut and fold
✅ Decorate and personalize
✅ Fill with goodies
✅ Admire your handiwork!
Got questions?
Feeling inspired?
I’d love to hear which pocket you’re trying first!
Drop a comment below and share your creations. 👇
Happy crafting, journal lovers!
May your pages be full of pockets and your pockets full of treasures. 📓✨
Remember, there’s no “right” way to junk journal.
These pockets are just starting points – let your creativity run wild!
And don’t forget to have fun along the way.
After all, that’s what junk journaling is all about.
Now go forth and create some pocket magic!
Check out more junk journal ideas here: