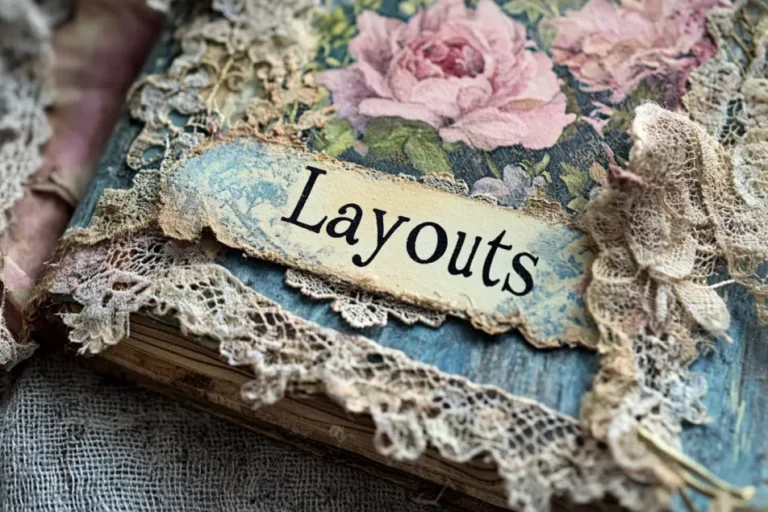
Junk Journal Cover Page Ideas for Beginner: Making a Journal Cover From Chipboard
How to Create a Stunning Junk Journal Cover from Chipboard 🎨📚
Ever found yourself scratching your head, wondering how to make a cover that’s both beautiful and sturdy?
Or maybe you’re on a budget and need a wallet-friendly option that still looks amazing?
Well, you’re in luck!
Today, we’re diving into Coffee Paper Scissors Stephanie’s awesome tutorial on crafting a junk journal cover from chipboard.
Get ready to level up your journal game! 🚀
What Materials Will You Need for This Project? 🛠️
Before we jump in, let’s talk supplies.
Here’s what Stephanie’s using:
- 12×12 inch 70-point chipboard (15 sheets per pack)
- Packaging paper
- Tyvek envelope
- Quick-dry tacky glue
- Scissors
- Ruler
- Pencil
- Ink pad (optional, but adds a nice touch!)
Where Can You Find Affordable Chipboard? 💰
Stephanie’s got a great tip for us here.
She found her chipboard on Amazon:
- It comes in a pack of 15 sheets
- Cost: around $15 (That’s roughly $1 per journal cover!)
- Pretty budget-friendly, right? 👍
This means you can make multiple journals without breaking the bank.
Score!
How Do You Cut the Chipboard? ✂️
Now, let’s talk about cutting this chipboard.
Stephanie’s already prepped her pieces:
- Two pieces at 5.75 x 9 inches (these will be your front and back covers)
- One piece at 9 x 2 inches (this is for the spine)
Pro tip: Chipboard can be tough to cut with regular scissors.
Stephanie uses a heavy-duty cutter called Carl RT200.
If you’re planning to make lots of journals, investing in a good cutter might be worth it!
What’s the First Step in Making Your Cover? 🏁
Alright, let’s get our hands dirty!
Here’s how we start:
- Cut your packaging paper. Make sure to leave a 1-inch border around your chipboard pieces. This extra space is crucial for folding!
- Find the middle of your paper. This is where the magic happens!
- Take a piece of Tyvek (Stephanie uses a Tyvek envelope) and glue it in the center. Why? This little trick prevents tearing over time. Smart, right?
- Here’s a pro tip: Leave some space at the edges when gluing the Tyvek. This way, it won’t interfere with folding later on.
How Do You Attach the Chipboard to the Paper? 📎
Now comes the fun part – putting it all together!
- Start by applying glue to the first piece of chipboard. Don’t be shy with the glue!
- Place it on the paper, leaving about an inch border. This extra space will be folded over later.
- Repeat this process for the other pieces. Remember to leave a small gap between them – this allows your journal to flex and move.
- Once everything’s in place, smooth it all down. We want to get rid of any pesky air bubbles!
What’s the Trick to Folding the Edges? 📐
This part can be a bit tricky, but Stephanie’s got some great tips:
- Start by folding all sides and creasing the corners. This gives you a guideline to work with.
- Now, focus on the corners first:
- Fold the paper tightly against the chipboard
- Apply glue and press it down
- Use your fingernail to smooth everything out and reduce bulk
- Once the corners are done, move on to the sides:
- Apply glue right up to the edge of the chipboard
- Fold the paper over and smooth it down
Take your time with this step.
A neat fold makes for a professional-looking cover!
How Can You Decorate Your Cover? 🎨
This is where you can let your creativity shine!
Stephanie’s using a collage she made, but feel free to use whatever suits your style.
Here’s what she does:
- Cut the collage to size. Make sure it fits your cover with a little extra to wrap around the edges.
- Ink the edges for a vintage look. This step is optional, but it adds a nice, aged effect.
- Glue it to the cover. Again, make sure to smooth out any bubbles.
But Stephanie’s not stopping there!
She’s planning to add:
- Fabric on the spine (she shows a pretty floral fabric she found at a thrift store)
- Lace peeking out the sides for a soft, feminine touch
- Book corners to hide any imperfections and add a bit of vintage charm
Remember, this is your journal.
Make it reflect your personality!
Any Final Tips from Stephanie? 💡
Stephanie’s got a few more tricks up her sleeve:
- Once you’re done, put some weight on your finished cover. This prevents warping as it dries.
- Let it dry completely before adding more decorations. Patience is key!
- If you’re using patterned paper, check the direction before gluing. You don’t want upside-down flowers!
Why Should You Try Making a Chipboard Cover? 🤔
- It’s affordable! At about $1 per cover, you can make multiple journals without spending a fortune.
- It’s sturdy. Chipboard gives your journal a solid structure that can withstand daily use.
- It’s customizable. You can decorate it any way you like, making each journal uniquely yours.
- It’s a great way to use up scraps. Got leftover paper or fabric? Put it to use on your cover!
- It’s satisfying. There’s something special about creating a journal from scratch.
What If You’re New to Junk Journaling? 🆕
Don’t worry!
This project is totally doable for beginners.
Here are some tips:
- Start simple. You don’t need to add all the embellishments at once.
- Practice folding on scrap paper first if you’re nervous.
- Remember, imperfections add character! Don’t stress if it’s not perfect.
- Join online junk journal communities for support and inspiration.
Ready to Get Started? 🚀
And there you have it, folks!
A beautiful, sturdy junk journal cover made from affordable chipboard.
Isn’t it amazing what you can create with a few simple materials? 🎉
Remember, the key to a great junk journal is making it your own.
So don’t be afraid to experiment with different papers, fabrics, and embellishments.
Your creativity is the limit! 🌈✨
What cover ideas are you excited to try?
Are you a fan of the vintage look, or do you prefer something more modern?
Maybe you have a unique theme in mind for your next journal?
Drop a comment below and let’s chat!
And hey, if you found this tutorial helpful, why not share it with a crafty friend?
Spread the junk journal love! 💖
Don’t forget to subscribe to my email for more junk journaling tips and tricks.
We’ve got tons of exciting projects coming up that you won’t want to miss.
Until next time, happy crafting! 🖌️📔
Check out more junk journal ideas here:


