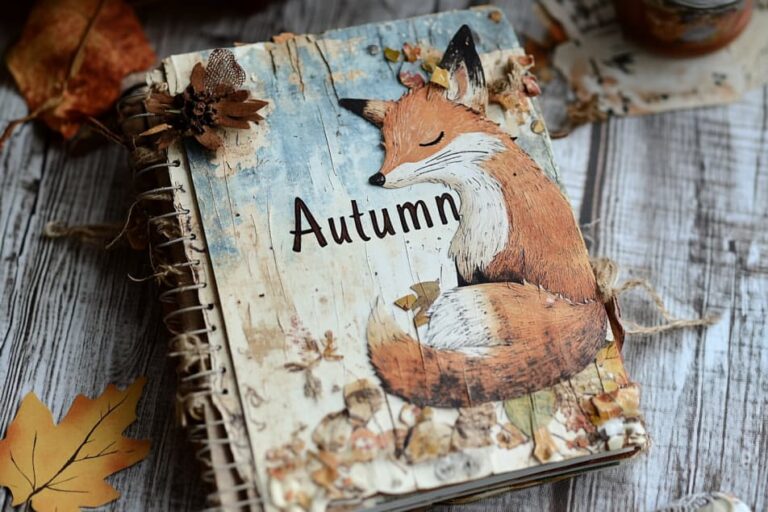
Junk Journal Cover Page Ideas for Beginner: Easy Fabric Collage Cover
How to Make a Fabulous Fabric Collage Junk Journal Cover 🎨✂️
Ever stared at your craft stash, wondering how to turn those fabric scraps into something amazing?
Well, I’ve got just the thing for you!
Today, we’re diving into The Paper Outpost Pamela’s awesome tutorial on creating a fabric collage junk journal cover.
Let’s get crafty! 🌟
What Materials Do You Need? 🧵
Before we jump in, let’s gather our supplies:
- Book dust jacket or sturdy paper
- Fabric scraps (lots of ’em!)
- Lace, doilies, ribbons
- Glue (fabric glue and glue stick)
- Scissors
- Sewing machine
- Thread (various colors)
- Baby wipes (for cleanup)
- Optional: pinking shears, seam binding, cheese cloth
How Do You Prepare the Base? 📚
Pamela starts with a brilliant idea – using a book dust jacket as the base!
Here’s how:
- Choose a dust jacket that fits your desired journal size
- Trim it to your preferred dimensions (Pamela goes for 9×6 inches)
- Make sure to keep the spine intact – it’s already the perfect shape!
Pro tip: If you don’t have a dust jacket, no worries!
You can use any sturdy paper or even cardstock as your base.
What’s the Secret to a Great Fabric Collage? 🧩
Now for the fun part – creating the collage! Pamela’s approach is all about layering:
- Start with a thin fabric base (like muslin or an old bed sheet)
- Glue it onto the dust jacket, wrapping the edges
- Begin adding fabric scraps, lace, and other pretties
- Don’t overthink it – just go with the flow and have fun!
Pamela reminds us that this is a great way to use up those tiny fabric scraps you’ve been hoarding.
Nothing’s too small!
How Do You Make It Look Cohesive? 🎨
Pamela shares some great tips:
- Mix up textures and patterns for visual interest
- Use neutral tones as a base, then add pops of color
- Layer smaller pieces on top of larger ones
- Don’t be afraid to cut up doilies or other embellishments
Remember, there’s no right or wrong way to do this.
It’s all about creating something that speaks to you!
What’s the Best Way to Secure Everything? 🧵
Once you’re happy with your collage, it’s time to sew:
- Start by zig-zagging around the edges
- Switch to a straight stitch and sew random patterns across the cover
- Focus on areas that need extra securing
- Don’t worry about perfection – the random stitching adds character!
Pamela uses a regular universal needle in her sewing machine.
She reminds us that you don’t need to be an expert seamstress to make this work.
Just have fun with it!
How Do You Handle Sewing Challenges? 🛠️
Pamela encounters a few hiccups during her sewing process, which is totally normal!
Here’s how she handles them:
- If the thread breaks, simply re-thread and keep going
- If the bobbin runs out, replace it and carry on
- If the machine struggles with thick areas, slow down and guide it gently
She also suggests waiting for the glue to dry completely before sewing if you’re having trouble with sticky needles.
How Do You Finish the Inside? 🖼️
To give your cover a polished look:
- Choose a complementary fabric for the inside
- Cut it slightly larger than your cover
- Glue it down, smoothing out any bubbles
- Trim any excess, leaving a small overhang
Pamela uses a tear method for cutting her fabric, which gives a nice, rustic edge.
But you can use scissors or pinking shears if you prefer.
Can You Add Extra Embellishments? 🎀
Absolutely!
Pamela suggests:
- Adding ribbon or lace along the edges
- Using cheese cloth for extra texture
- Incorporating seam binding for a vintage touch
She also mentions that you could group your fabric scraps by color before starting if you want a more cohesive look.
What Are Some Variations You Can Try? 🌈
Pamela throws out some great ideas for different themes:
- All neutrals for a shabby chic look
- Black and white for a dramatic effect
- Dark and “murky” colors for a Halloween theme
- Bright, cheery colors for a spring or summer journal
Where Can You Find Materials? 🛍️
Pamela shares some budget-friendly tips:
- Check thrift stores for old linens and doilies
- Look for sample fabric squares at craft stores
- Use old clothing or bedsheets
- Keep an eye out for wedding dresses at secondhand shops – they’re full of lace and appliques!
How Long Does This Project Take? ⏱️
According to Pamela, this is a project you can easily complete in an afternoon.
The actual collaging goes pretty quickly – it’s the drying time for glue and any extra embellishing that might take longer.
What If You Make a Mistake? 🤔
Don’t stress!
Pamela reminds us that there’s no such thing as a mistake in this project.
If you glue something down and don’t like it, just cover it up with another piece.
The layered look is part of the charm!
Can You Use This Technique for Other Projects? 🎁
While Pamela focuses on a journal cover, she mentions that this technique would also work great for:
- Placemats (though they might be hard to wash)
- Decorative wall hangings
- Book covers
- Tote bags
Ready to Try It Yourself? 🚀
And there you have it, folks!
A gorgeous, one-of-a-kind junk journal cover that’s bursting with personality.
Remember, there’s no right or wrong way to do this – it’s all about expressing your creativity and having fun with it.
Pamela’s tutorial is a great reminder that you don’t need fancy equipment or expert skills to create something beautiful.
All you need is some imagination, a willingness to experiment, and a bunch of fabric scraps!
So, what are you waiting for?
Grab those fabric scraps and get collaging!
Happy crafting, everyone! ✨🎉
Check out more junk journal ideas here:


