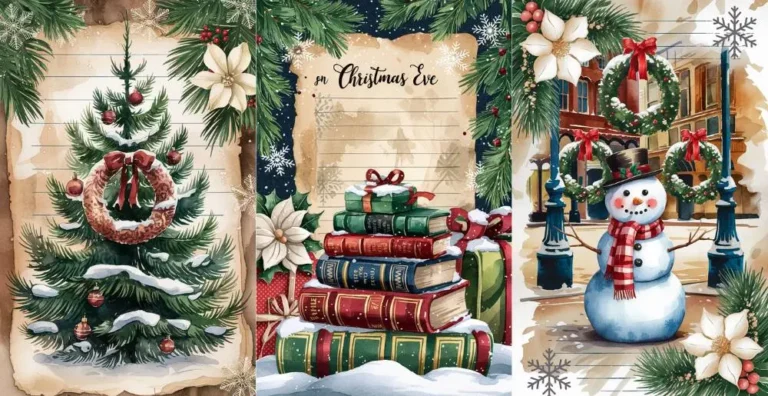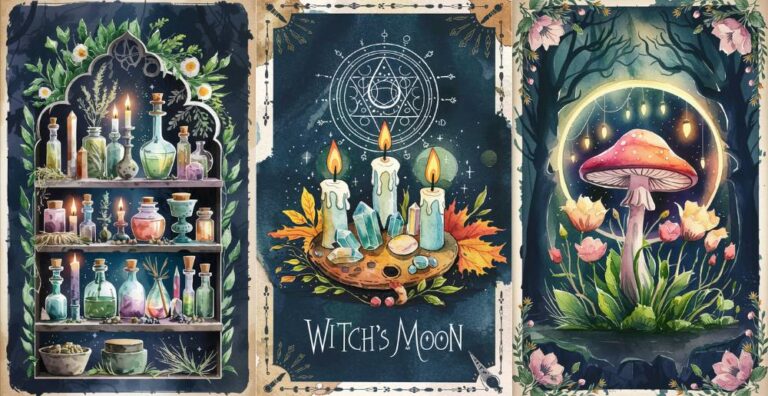
How to Print Your Junk Journal Kit: A Step-by-Step Guide
Creating your junk journal is an exciting and creative process, and printing your kit correctly is an essential step to ensure beautiful results. Whether you’re new to printing or just need some tips, this guide will walk you through the process!
1. Choosing the Right Paper
The type of paper you use can make a big difference in how your journal looks and feels. Here are some popular options:
- Standard Printer Paper (20–24 lb): Great for writing and basic printing, but may feel thin.
- Cardstock (65–110 lb): Perfect for covers, tags, or pockets. It’s thicker and more durable.
- Matte Photo Paper: Ideal for vibrant colors and high-quality print designs.
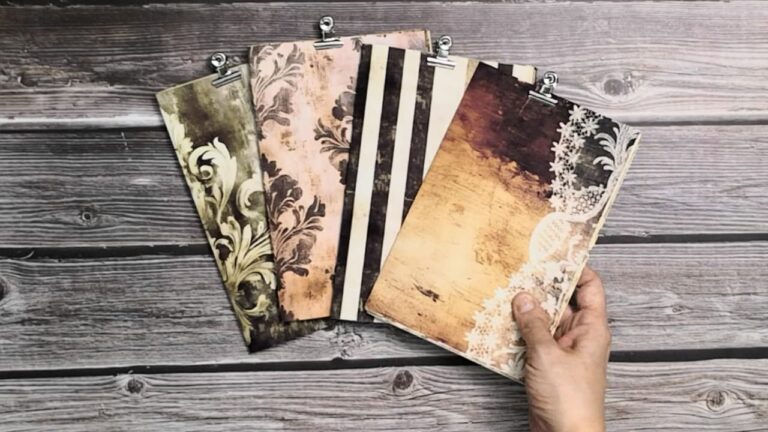
- Tea- or Coffee-Dyed Paper: Add a vintage touch by dyeing paper before printing!
💡 Pro Tip: Always check your printer’s paper capacity and compatibility before using thicker paper.
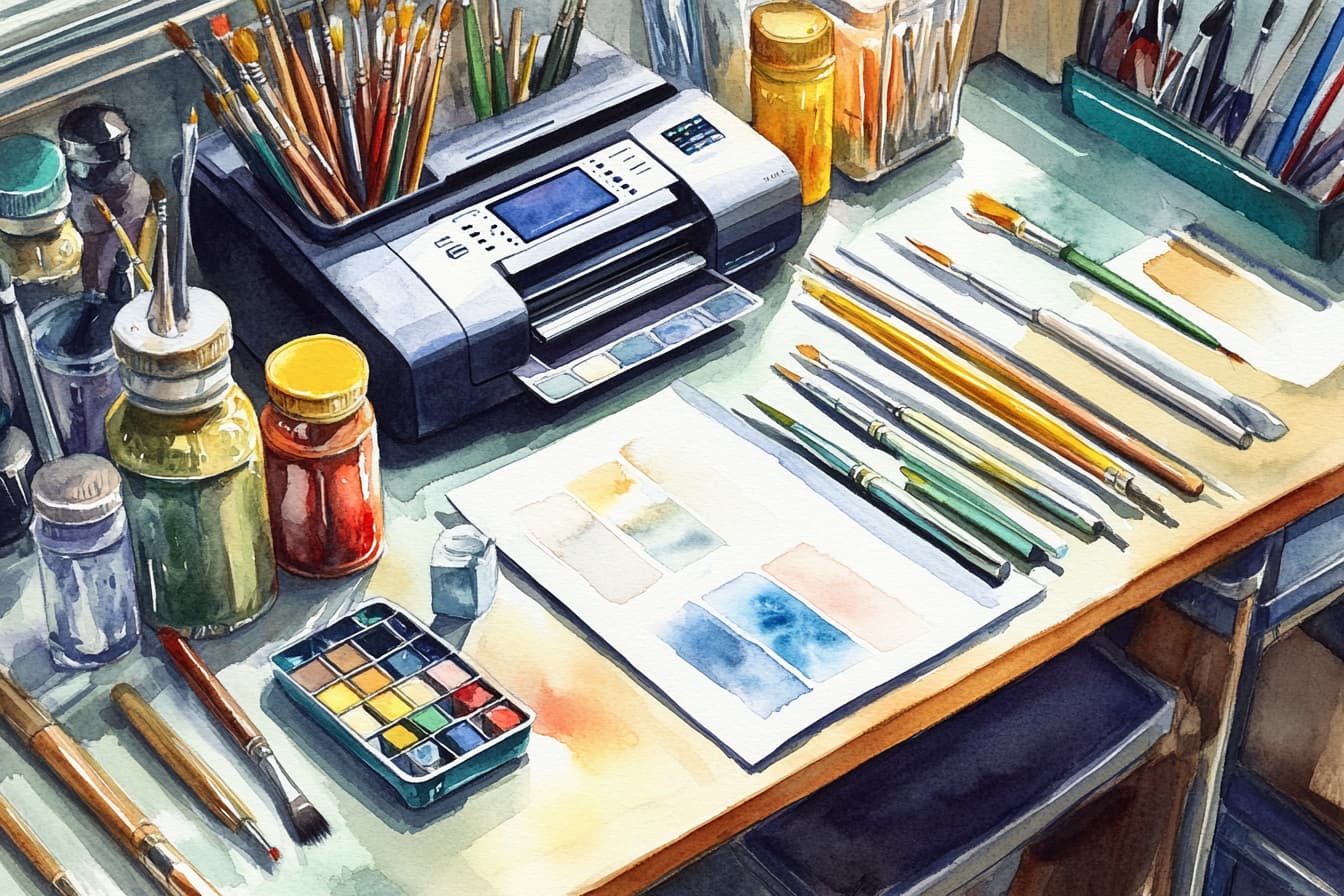
2. Adjusting Your Printer Settings
To get the best results, it’s important to configure your printer settings correctly:
- Print Quality: Set to “High” or “Best” for sharp and vibrant prints.
- Paper Type: Match the setting to the paper you’re using (e.g., “Cardstock” or “Photo Paper”).
- Scale: Ensure your pages print at 100% (no scaling) unless you’re customizing the size.
💡 Double-Sided Printing: If your printer supports it, enable double-sided printing for your journal pages. If not, print one side, flip the paper manually, and print the other side.
3. Cutting and Trimming Your Prints
Once printed, carefully cut or trim your designs to the desired size using:
- Scissors: Simple but effective for small jobs.
- Paper Cutter: Provides clean, straight edges for professional-looking results.
- Ruler and Craft Knife: Great for precise cuts.
💡 Pro Tip: Use a cutting mat to protect your surface and ensure accuracy.
4. Common Printing Challenges and Solutions
- Colors Look Dull: Check that you’re using the correct paper type and ink settings.
- Misaligned Prints: Verify that your paper is loaded correctly and aligned in the tray.
- Paper Jams: Avoid overloading the paper tray and use the recommended paper thickness.
5. Printing Without a Home Printer
Don’t own a printer? No problem! Here are some alternatives:
- Local Print Shops: Take your files on a USB drive or email them for professional printing.
- Online Printing Services: Upload your files to an online service for delivery to your door.
- Friends or Family: Ask someone with a printer to help you out!
Ready to Start Printing?
Now that you’re equipped with all the tips and tricks, you’re ready to print your junk journal kit and bring your creative vision to life!
💡 Need More Help? If you have additional questions or run into any issues, feel free to reach out—I’m happy to help!
Happy printing,
Jureen