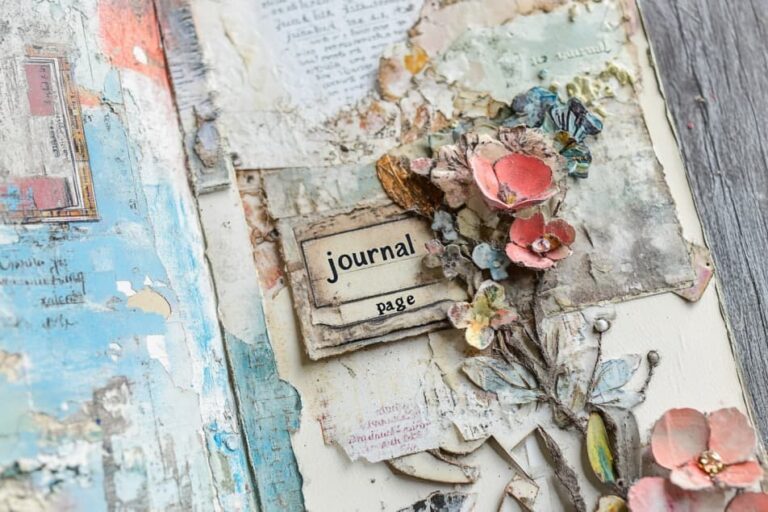
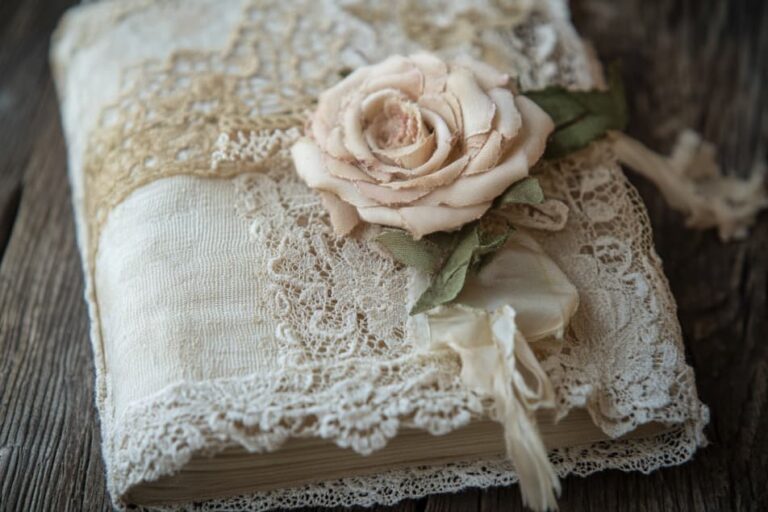
How to Create Easy No-Sew Tab Binding for Junk Journals: Step-by-Step Tutorial
How to Create Easy No-Sew Tab Binding for Junk Journals: Step-by-Step Tutorial
Are you tired of journals that won’t lay flat?
Scared of sewing?
Well, I’ve got some exciting news for you!
Today, I’m breaking down Treasure Books Natasa’s awesome tutorial on no-sew tab binding.
It’s a total game-changer, and I can’t wait to share it with you! 🙌
What is Tab Binding and Why Should You Try It? 🤔
Let’s kick things off with the basics.
Tab binding is this super cool, versatile method that doesn’t require any sewing.
Sounds pretty great already, right?
But wait, there’s more!
Here’s why you’ll love tab binding:
- Your journal will lay completely flat (goodbye, awkward bulges!)
- It works for single pages, folded pages, and even whole signatures
- You can bind random items like CD cases and envelopes
- It’s perfect for greeting cards you want to preserve
Intrigued?
I thought so! Let’s dive deeper into this crafty technique. 😎
What Materials Do You Need? 🛠️
Before we get our hands dirty, let’s gather our supplies.
Natasa suggests grabbing:
- Strips of fabric, washi tape, paper, or cardstock (mix and match for fun!)
- Double-sided tape
- Ribbon or cloth tape
Pro tip: You can make your own cloth tape by backing fabric with double-sided tape.
Clever, right?
Don’t stress if you don’t have everything perfect.
Junk journaling is all about creativity and using what you have!
How Do You Start the Binding Process? 🏁
Alright, let’s get this party started!
Here’s how to kick off your tab binding adventure:
- Gather all the pages or items you want to bind
- Decide on your binding material (remember, you can mix it up!)
- Prepare your strips by applying double-sided tape to the back
Natasa’s hack: If you’re binding thicker items like signatures, skip the double-sided tape and use glue instead.
This gives your pages more wiggle room.
What’s the Step-by-Step Process? 📝
Now, here’s where the magic happens.
Follow these steps, and you’ll have a beautifully bound journal in no time:
- Start with your first page or cover
- Apply 3 strips: one in the middle, two on the sides
- For the next page, apply 2 strips that fit between the previous 3
- Keep alternating between 3 and 2 strips for each subsequent page
- When you reach the last page, no strips needed!
The key word here is alternating.
Just keep chanting to yourself: 3-2-3-2-3-2…
You’ve got this! 😉
How Do You Handle Different Types of Pages? 📚
One of the coolest things about tab binding is how versatile it is.
Here’s how to handle different types of pages:
- Single pages: Just bind them as they are. Easy peasy!
- Folded pages: Attach tabs to both the front and back
- Signatures: This is a bit trickier. First, secure the pages (use a 3-hole pamphlet stitch or staple them), then bind the whole thing as one unit
Remember, you can mix and match these in your journal.
Go wild!
What Are Some Cool Variations? 🌈
Now that you’ve got the basics down, let’s talk about some fun ways to mix things up:
- Play with your strip numbers. Instead of 3-2-3-2, why not try 4-3-4-3?
- Mix up your page sizes and types. Who says every page has to be the same?
- Add some bling! Try adding decorative elements on top of your binding
The sky’s the limit here.
Let your creativity shine!
How Do You Finish Your Journal? 🎀
You’re almost there!
Here’s how to put the finishing touches on your journal:
- If you’re not a fan of visible tabs, you can hide them
- Add your covers (make them sturdy!)
- Decorate to your heart’s content!
Want some inspo?
Check out what Natasa did.
She created a pocket on the cover using gift box paper and added a cute gold bow.
Talk about chic! ✨
Any Tips or Tricks? 💡
After watching Natasa work her magic, I picked up some great tips to share with you:
- For a neater look, try to align your strips. It’s not crucial, but it does look pretty slick!
- If you’re binding signatures, leave a little space between them. This makes turning pages a breeze
- Get creative with your binding materials. Natasha is loving the gold and black combo, and I have to say, it looks amazing!
- Don’t stress if your double-sided tape loses its stick over time. A dab of glue will fix that right up!
What Else Can You Do With Tab Binding? 🎨
The possibilities are endless!
Here are some ideas to get your creative juices flowing:
- Make a greeting card journal: Perfect for preserving special cards
- Bind old CD cases: Great for storing small ephemera
- Create an art journal: The flat pages are perfect for mixed media
- Use painted papers: Bind your beautiful backgrounds into a stunning journal
How Do You Make It Your Own? 🌟
Remember, this is your journal.
Make it reflect you!
Here are some ways to personalize:
- Choose a color scheme that speaks to you
- Add embellishments that match your style
- Mix in different textures for interest
- Include pockets, tags, and flip-outs for interactivity
What If Something Goes Wrong? 🆘
Don’t panic!
Junk journaling is all about embracing imperfections.
If a tab comes loose, just glue it back down.
If your pages aren’t perfectly aligned, call it character!
The beauty of this method is its forgiving nature.
Final Thoughts 🤗
Whew!
We’ve covered a lot of ground, haven’t we?
Tab binding might seem a bit intimidating at first, but trust me, once you get the hang of it, you’ll be amazed at how easy and versatile it is.
This technique opens up so many possibilities for your junk journals.
Whether you’re binding greeting cards, CD cases, or creating a mixed media art journal, tab binding has got you covered!
Remember, the most important thing is to have fun with it.
Don’t get too caught up in making everything perfect.
The little quirks and imperfections are what make your journal uniquely yours.
So, are you ready to give no-sew tab binding a try?
I bet your next journal project is going to be absolutely amazing!
Why not gather your materials and start experimenting today?
I’d love to hear how it goes for you.
Drop a comment below and let me know what kind of journal you’re planning to make.
And if you run into any snags, don’t hesitate to ask for help.
We’re all in this crafty journey together!
Happy journaling, everyone!
May your pages be flat, your tabs be strong, and your creativity know no bounds.
Let’s get binding! 🎨📔✂️
Check out more junk journal tips and tutorials here: